Finding the right bold outline marker font for beginner calligraphy practice solves a common problem for new lettering artists. Instead of struggling with complex brush pen pressure immediately, these hollow, thick-bordered letters let you focus purely on shape, spacing, and structure. You trace the edges first, which builds muscle memory before you worry about filling in the colors or adding intricate flourishes.
Why start with hollow letters?
A bold outline font provides a clear boundary for your ink. You use a fine liner or a standard marker to draw the outer edges of the letterforms. This technique is highly effective when learning modern calligraphy alphabets because it removes the pressure of perfecting thick and thin downstrokes right away. You build the skeleton of the word first.
Once you understand the basic structure, you can experiment with different fill techniques. This approach works well for creating readable typography on dark surfaces, chalkboards, or digital tablets. The empty center of the letter gives you room to add patterns, gradients, or secondary colors.
How do you adjust the style for different tools?
Your choice of paper and marker tip changes how the outline behaves. If you use a rough watercolor paper, a standard felt-tip marker might fray. Switch to a smooth Bristol board to maintain crisp edges.
The scale of your project also dictates your tool choice. For smaller tags, a 0.5mm fineliner gives you precise control over the bold outline marker font for beginner calligraphy practice. When making larger displays, like a festive birthday display, you will need a chisel-tip marker to draw the initial boundaries before filling them with poster paint.
What causes messy outlines and how do you fix them?
The most common mistake beginners make is pressing too hard. Heavy pressure causes the marker ink to bleed outside the intended path and ruins the paper tooth. To fix this, hold your pen at a 45-degree angle and let the weight of the tool do the work. Glide the tip across the surface.
Another issue is uneven spacing between the letters. Use a light pencil grid underneath your paper to keep your baseline and x-height consistent. If your lines look shaky, practice drawing long, straight strokes on scrap paper before tackling the full alphabet.
Choosing the right ink prevents your practice sheets from becoming a smudged mess. Water-based markers are great for smooth paper because they dry quickly and sit on the surface. Avoid alcohol-based markers on thin printer paper, as they will bleed through and feather out, destroying the sharp edges of your outline font.
These hollow styles are highly versatile and not just for paper. You can easily adapt them for reusable surfaces, such as a daily classroom organization board, where dry-erase markers create temporary, erasable lettering.
Adding depth to your outline fonts
Once your basic outlines are clean, you can add simple drop shadows to create a three-dimensional effect. Pick a consistent light source, usually the top left, and use a gray marker to shade the opposite inner edges. This simple step makes the hollow letters pop off the page without requiring advanced shading skills.
Your first practice session checklist
Get your supplies ready with this quick setup to ensure a smooth learning experience.
- Print or sketch a reference sheet of hollow block letters.
- Select smooth, bleed-resistant paper to maintain clean edges.
- Trace the outer boundary of each letter with a light, steady hand.
- Check your spacing against a grid before committing to ink.
- Fill the center with a secondary color or add inner shadows for depth.
After mastering the basics on your desk, you can scale up your skills. Practicing these hollow letterforms translates perfectly when designing a weatherproof outdoor sign using thick paint markers on wood or plastic.
Explore Design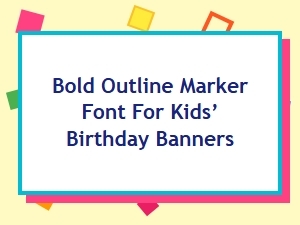 Bold Outline Marker Font for Kids’ Birthday Banners
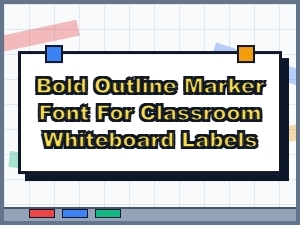 Bold Outline Marker Font for Whiteboard Labels
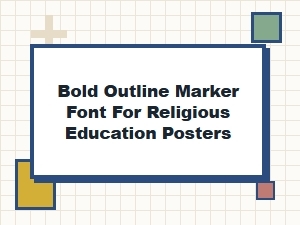 Bold Outline Marker Font for Religious Education Posters
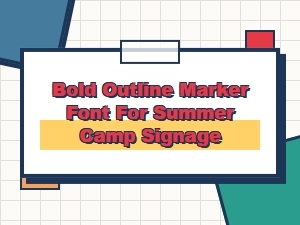 Bold Outline Marker Fonts for Summer Camp Signage
 Best Brush Marker Fonts for Calligraphy Beginners
 Brush Marker Fonts for Elegant Wedding Invitations